Showing posts with label marshmallow fondant. Show all posts

Monday, February 2, 2015

Soccer Ball Cookies


Soccer Ball Sugar Cookies

I made these cookies for LD's last game of the season.  His teammates loved them and I thought I'd share the technique since I've used it several times now. Scroll down to the bottom for more examples.

The sugar cookie dough is a wonderful find from Sugarlicious.  The dough is firm and more like a shortbread dough.  It will hold up nicely to cutting shapes and even putting in on a cookie stick if you roll the dough a bit thicker.  Usually I bake them slightly less than what is called for in the recipe, but that could just be my oven.  Make sure you check on the cookies for doneness ( a bit of golden brown on the edge is usually a good indicator). 

You will also need a small batch of royal icing.  I make my royal icing with meringue powder just because it's super easy and safe to eat raw.  

Royal Icing (for icing cookies)

2 Tbs. Meringue powder
3 c. powdered sugar
¼ c. cold water
food coloring paste

Beat meringue powder, powdered sugar and water at high speed in a heavy-duty stand mixer with a whisk attachment until glossy, stiff peaks form. Tint with food coloring paste to desired color, and beat until well blended. Transfer to pastry bag fitted with small round tip (#4) and store with a damp paper towel placed on bottom of a tall drinking glass.

Last, but not least, I make the fondant topper.  I use my Marshmallow fondant.  You can check out the recipe I use here.  
For this cookie, I used a 3.5 inch round cutter for the cookie and the fondant circle of white.   I left most of the fondant white, but dyed a small amount black.  I like to use Americolor Super Black.  It is always good to try to make the fondant a few days ahead, but especially if you are using very dark of deep colors.  The color will deepen if you let it rest for a day so you won't need to add as much color.   I cut out pentagon shapes in the black fondant.   You may need just the tiniest dab of water on the fondant to attach the black pieces.  Try not to use too much or the colors will run and the marshmallow fondant will get too mushy!  
So I basically tried to follow this image (kinda-sorta).
I used the quilting fondant tool to make the stitching marks on the ball and went over the marks with a bit of food color marking pen.  Once the soccer ball design is made in the fondant circle, I attach the whole thing with the royal icing acting as glue.  Allow them to sit out while the royal icing dries.


The first few cookies, trying to get the lines right.
Wrapped and ready to go!

Butterfly Sugar Cookies, using just royal icing and sanding sugar.
For Girl Scout Bridging ceremony.  Green and Brown fondant for the vest sleeves and rainbow Airhead Xtreme candy for the stripe.
Here's a Football Jersey version of the cookie


Thursday, August 28, 2014

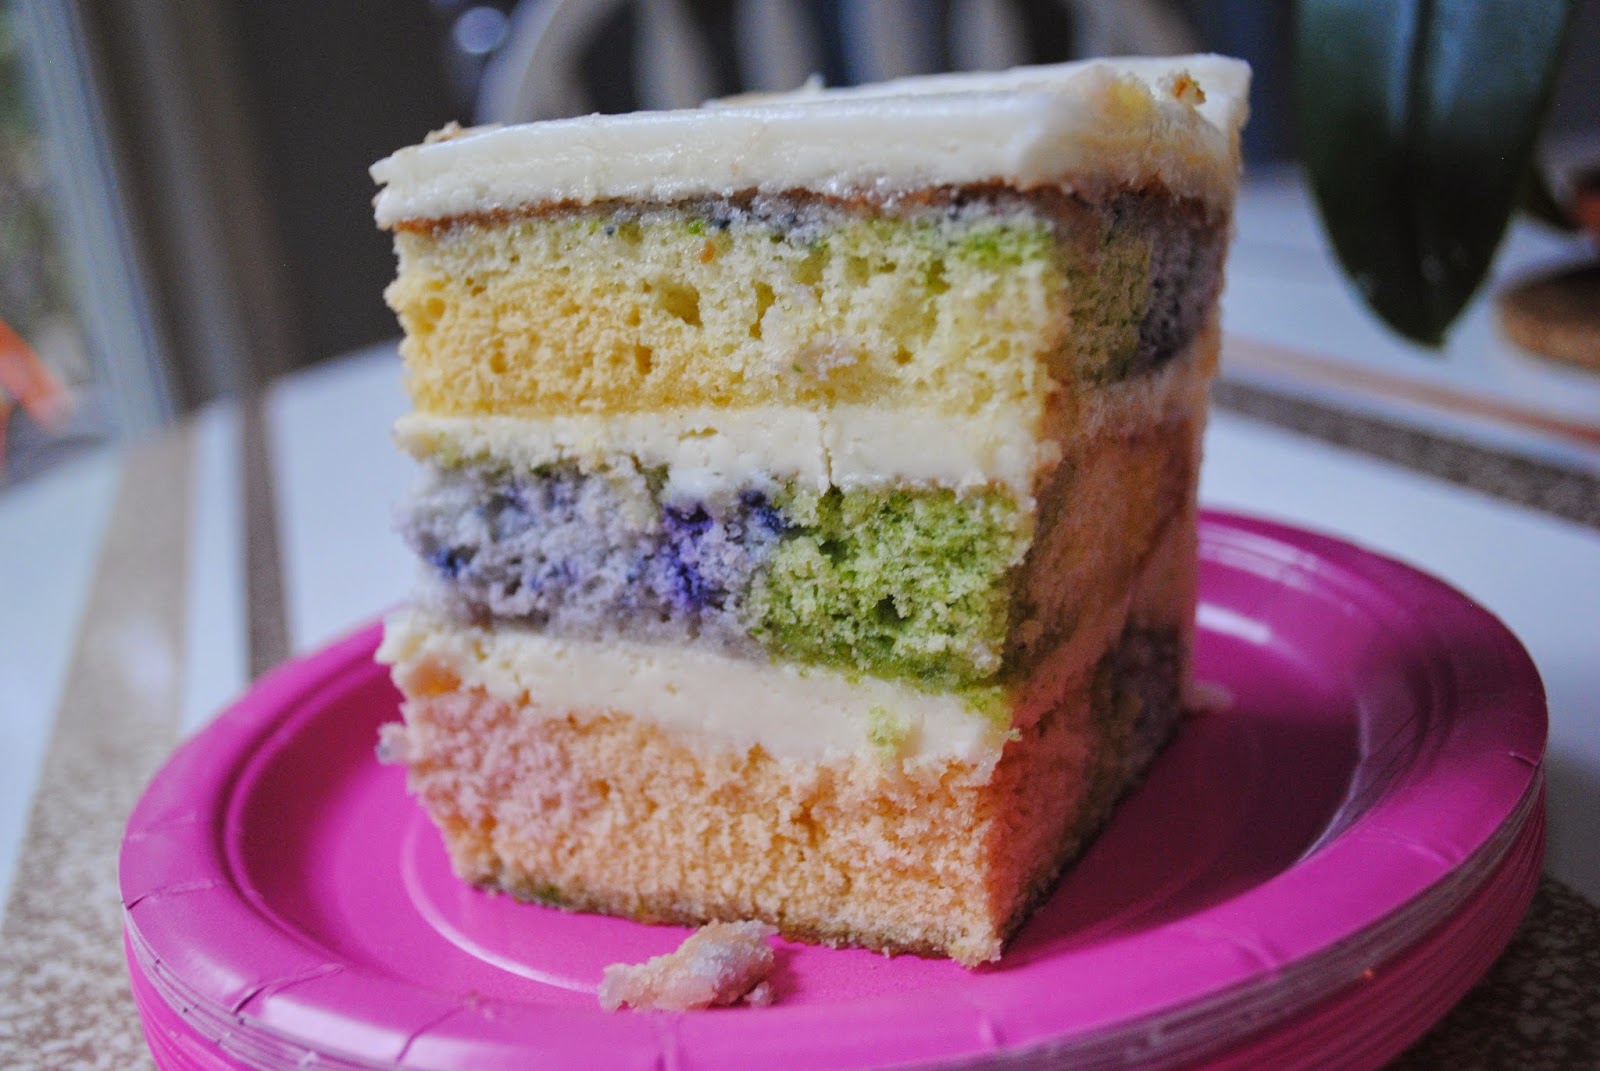
Rainbow Tie-Dye Cake

Still going back in time to catch up on posts.  This time for Miss D's eighth birthday.  It was the last party at our house in Georgia...sigh.  It was a great one though.  Lots of good food and lots of really wonderful friends!  Miss D wanted a rainbow party and that's exactly what we delivered.  

The cake:  Ok, so rainbow birthday and the immediate thought is the rainbow cake.  You know the one.  The towering stack of brightly candy colored layers of cake.  Been there, done that.  Looks cool in pictures and definitely is stunning to cut into, but not always a joy to eat with the artificial colors.  I knew I wanted something a bit different, but still along the rainbow theme. I researched online for some natural dye bases to give the cake the rainbow effect.  I knew that the colors wouldn't be quite as vibrant as the artificial so I decided to use a layering technique for the batter to give a tie-dye effect.  Instead of baking each layer separate, the colored batter gets poured into the pan in succession.  As the next color is poured into the pan, it helps spread the color(s) next to them.  The key is pouring slow and steady.  So for instance, one cake I poured them in the ROYGBV order, and then in the next pan, I poured them in the opposite order VBGYOR to add to the tie-dye effect.  I think the pictures below probably explain it better than I can.  This cake looks innocent and simple enough on the outside, but it's the inside that is really the "wow" part of the cake.  Apart from a small amount of decoration on the outside fondant layer, the cake is all natural color and flavors.  Woohoo!   


Ready to go in to the oven.
And out of the oven and cooling.
Alright, so I started out with a good white cake recipe.  I made four batches of it.  Each batch I divided into six bowls and colored with about a tablespoon or so of natural dye.  One batch was baked in two 8" square pans.  The remaining three batches were baked in a large 9" x 12" pan.  This is the white cake recipe I used:

White Cake  (adapted from The Southern Heritage Cakes Cookbook, Southern Living Books, 1983) 
1/2 cup shortening
1 1/4 c. sugar
2 cups cake flour
2 1/2 tsp. baking powder
1/2 tsp. salt
3/4 c. milk
1 tsp. vanilla extract
3 egg whites, at room temperature

Preheat oven to 350 degrees.
In the bowl of a large mixer, cream shortening with sugar until light and fluffy.  In a separate bowl, combine flour, baking powder and salt.  Measure out milk and add vanilla extract.  Add flour to creamed mixture alternately with the milk.   Be sure to begin and finish with the addition of flour.  In a clean bowl, beat egg whites to stiff peaks.  Fold the egg whites gently into the batter.

For the Rainbow Tie dye effect:
Divide batter between 6 small bowls.  To each bowl you will add about 1 tablespoon of natural dye.    Fold dye into batter until incorporated.  Pour into prepared pan in the order that you wish to see the colors.  Begin pouring batter in the center of the pan and slowly add each color in succession.  The color you add first will end up on the outside and bottom of the cake, the last color you add will remain toward the center. Bake at 350 degrees for 20 - 25 minutes.   Cool cakes in the pan 10 minutes before removing to cooling racks.
::
Natural Dyes:  I needed about 1/4 cup total for a quadruple recipe of the white cake.  Now, I will confess I really wish at this point I had a juicer on hand to make these dyes, but I didn't and it really was do-able with just a mini-food processor and a strainer.  For all of the dyes (except the yellow), I took about a 1/2 cup of raw vegetable/fruit, pureed it in the mini processor and then strained it into a separate bowl.  You may need to use a rubber spatula to press the puree a bit and squeeze out the juice.  

Red: I used canned beets for this.  
Orange: Carrots, or you can buy carrot juice.
Yellow: One egg yolk (for each recipe so, 4 egg yolks total)
Green: Fresh spinach, or buy spinach juice.
Blue: Use fresh or frozen (thawed) blueberries.
Purple: Fresh or frozen (thawed) blackberries.

I used a cream cheese frosting in between the layers and a vanilla butter cream frosting for the outside of the cake.  Why two frostings you ask?  Well, this was Georgia, in June, and hot, hot, hot.  The butter cream is a bit more stable and able to withstand the heat, but with the faint hint of fruit and vegetable flavors in the cake (not overwhelming though) the cream cheese was a natural balance.    Again as with many of my cakes, I used  marshmallow fondant for the outside.  I left it naturally white.  I wanted a cloud-like effect.  I made a few clouds out of royal icing.  I used a bit of extra fondant and had the birthday girl cut out shapes and decorate them with food writers.  She was thrilled to say that she helped decorate the cake and I think it made it very sweet.  You can see some stars and flowers that she decorated and I attached to the outside layer.  

Putting it together.


Yum!


Wednesday, August 27, 2014

Spiderman-Basketball Birthday

Spiderman-Basketball Birthday Party

  I am going back in  time to try to catch up on posts.  This was LD's 4th birthday.  Yes, right now I am planning his 6th, so I am a bit late :)  

We had a Spiderman-themed Basketball party.  The kids watched an exhibition game at the college and then got to play around on the court at half-time.  We made little goodie bags with snacks for the game.  Afterwards, we took a break to enjoy some cake and watch an old spiderman tv episode on a projector screen.  


The Cake:  The Bottom layer was 9 x 13 two layer cake with one layer chocolate and one vanilla.  vanilla butter cream. The top layer was a 12 inch oval of red velvet cake with cream cheese frosting.  The whole cake was decorated with marshmallow fondant.  I used a fondant mold to get the "brick" look into the skyline and then hand-cut the buildings.  The mask used fondant for the eyes and a black royal icing for the web detail.  


I made several batches of fondant and colored them in advance to let the colors deepen. In fact, both the fondant and the royal icing for the cookies needed to be made in advance so that the colors would deepen.  I used Americolor Super Red and Super Black.  I think they produce the deepest colors using the smallest amount of product.  


Here are the cookies.  It's a long-standing tradition now ( about five or six years) that I make these shortbread cookies for the kids' birthday.  The recipe is very straight forward.  I use Ina Garten's Shortbread cookie.  I usually ice them with royal icing and sometimes use sanding  or colored sugar to decorate.


Here they are all wrapped and ready for favors.


Monday, September 3, 2012

Menu Plan Monday - September 3, 2012

Labor Day weekend!  The kids have been in school a month already and in another month will be Fall break.  Boy, this summer went by really fast this year.

Well, we didn't get much here from Isaac, just a little rain.  LD had his first ever soccer practice last week.  He was so excited.  He can't wait for another practice.  Wait until he gets his uniform.  I think he may live in it!  Another rainy day expected here.  No real plans, just hanging around the house and watching the US Open, I imagine.

 Oh, but the big news of the weekend is that we bought a new microwave - Yeah!  I know, not really breaking news, but I have been hemming and hawing on getting a new one for a while (like two years).  We actually did buy one a couple of years ago, which we had to return, but that is a whole other story.  The old one was making pretty loud, disturbing sounds.  I think it was time.  I look forward to melting chocolate and popping unscorched popcorn very soon!

The other project for this weekend was starting to prepare for LD's 4th birthday.  Another round of marshmallow fondant making and here are the results:

Ready for a superhero cake!

Ok - to the menu:

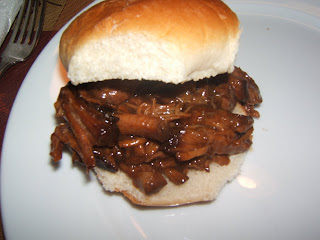
Monday - Shredded BBQ Beef sandwiches (leftovers from the pot roast on Friday), corn on the cob, baked beans

Tuesday - Pasta - maybe with some sliced turkey sausage. Salad.

Wednesday - Chicken Continental, Broccoli, Rice or Quinoa

Thursday - Homemade Pizza night - a must

Friday - Hoisin Grilled Chicken with Peking pancakes, Stir fry veggies, challah


Looking for more menu plans and ideas, please visit MPM at orgjunkie.com

Monday, June 13, 2011

Menu Plan Monday - 6/13/11

Menu Plan Monday - 6/13/11

Another week of heat predicted here.  Still no rain.  My poor garden is starting to burn up.  I was able to pick a few snap peas last week and put them in the pasta, pesto and peas, but I'm not sure I will get any more if we don't get a bit of rain.  I started making the marshmallow fondant for Miss D's BD.  I tried both the double-boiler method and the microwave method for melting the marshmallows.  The microwave is clearly the faster method, but involves cleaning another bowl.  My solution was to use the 1/2 cup of shortening to "grease" the bowl for melting and then the remaining for the bowl and paddle of the mixer.  MUCH easier!  Why didn't I think of that the first time??  Anyway, now they are nicely tucked away in the fridge until I decorate the cake. 


Monday - Turkey Burgers, grilled potato wedges, broccoli

Tuesday- Baked Ziti, salad, French bread


Wednesday - Grilled Honey BBQ Chicken


Thursday - Pierogi (frozen) with sauteed onions

Friday - Spaghetti  and Meatballs


For more menu ideas, please visit MPM at orgjunkie.com

Sunday, May 15, 2011

Marshmallow Fondant

Marshmallow Fondant (MMF) -  Has anyone tried making this yet?  Has anyone heard of Marshmallow Fondant?  I found out about it a few weeks ago.  I am not really a big fondant fan, but Miss D's birthday is rolling around again soon.  She has requested the "Barbie" cake -you know,  the dome-shaped cake with the doll torso sticking out of it.  Anyway, the dress for this doll will be out of fondant, so I really wanted something that tasted good.  I have to admit this one is pretty tasty.  Not that I can eat the big wads of it my children have been sneaking, but as it's rolled out over buttercream, it still retains that marshmallow squishy-ness and is quite nice.  There are many recipes out there for MMF but pretty simply:

2 (10 oz.) bags of mini marshmallows
1/2 c. butter or veg. shortening
2 pounds powdered sugar
a few tablespoons of water

food color paste (if desired)

Melt the marshmallow and butter over a double-boiler, or in the microwave.  when melted, add 1/2 of the powdered sugar and mix by hand or in a stand mixer.  Continue adding powdered sugar until a soft dough forms, adding water if it gets too thick.  Transfer to a counter surface dusted with more powdered sugar and continue to knead until smooth.  Place in a zippered plastic bag and squeeze out excess air.  Store in the fridge for at least a few hours and up to two weeks.  When ready to use, allow it to come to room temperature in the bag.  Microwave for 30-sec bursts until soft and pliable.    If you wish to color the fondant, you can use color paste (and food-safe gloves for your hands) kneading the color into the fondant until evenly distributed.  When soft, the fondant is easy to roll out and also to cut out and mold. 

My children used the leftover fondant to create "cookies" for Mother's Day.